Certainly! Here’s a step-by-step painting tutorial for using brushes to paint a room in your home:
Materials Needed:
- Paint (color of your choice)
- Primer (if needed)
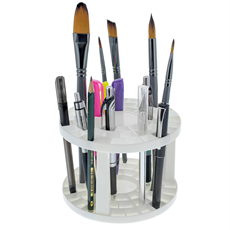
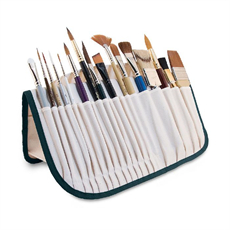
- High-quality paint brushes (synthetic for water-based paint, natural for oil-based paint)
- Paint tray
- Painter’s tape
- Drop cloths or plastic sheeting
- Sandpaper
- Spackling compound (if needed)
- Stir sticks
- Screwdriver (for removing switch plates and outlet covers)
- Paint can opener
- Bucket of water or paint thinner (for brush cleaning)
Step 1: Prepare the Room
- Remove furniture or move it to the center of the room and cover it with drop cloths or plastic sheeting to protect it from paint splatter.
- Remove switch plates, outlet covers, and any other items attached to the walls.
- Clean the walls to remove dust and dirt. Patch any holes or imperfections with spackling compound, and sand the patched areas smooth once they are dry.
Step 2: Apply Painter’s Tape
- Use painter’s tape to protect areas you don’t want to paint, such as baseboards, trim, and ceiling edges. Apply the tape carefully to ensure clean lines.
Step 3: Prime (if needed)
- If you’re painting over a dark or stained surface or making a significant color change, apply a coat of primer. Stir the primer thoroughly before use.
- Use a brush to cut in around the edges of the walls with primer. Then use a roller to cover the larger areas.
Step 4: Cut In
- Start by cutting in the edges of the walls and corners using a brush. Dip the brush about one-third of the way into the paint and remove excess paint by tapping it against the side of the paint can.
- Paint along the edges and corners with steady, even strokes. Feather the paint to blend it smoothly with the roller-painted areas.
Step 5: Load the Brush
- Dip the brush into the paint, and again, remove excess paint by tapping it lightly against the side of the paint can.
Step 6: Brush Technique
- Apply the paint to the wall using smooth, even strokes, following the natural direction of the surface.
- Maintain a wet edge by working quickly and overlapping each stroke slightly.
- Use a light touch to avoid brush marks and streaks. If necessary, apply a second coat for even coverage.
Step 7: Paint the Larger Areas
- After cutting in, use a roller to paint the larger wall areas. Roll the paint onto the wall in a “W” or “M” pattern to ensure even distribution.
- Roll the paint evenly and avoid pressing too hard, as it can leave streaks.
- Continue until you’ve covered all the walls.
Step 8: Remove Painter’s Tape
- Before the paint dries completely, carefully remove the painter’s tape at a 45-degree angle to avoid pulling off any fresh paint.
Step 9: Cleanup
- Clean your brushes thoroughly with water (for water-based paint) or the appropriate solvent (for oil-based paint). Follow the manufacturer’s instructions for cleaning.
- Reattach switch plates, outlet covers, and any other items you removed.
- Dispose of paint cans and other materials properly, following your local regulations.
Step 10: Enjoy Your Newly Painted Room!
- Allow the paint to dry completely before moving furniture back into place or hanging artwork.
Remember, practice makes perfect, so don’t be discouraged if your first attempt isn’t perfect. With some patience and a steady hand, you can achieve a professional-looking paint job using brushes.


